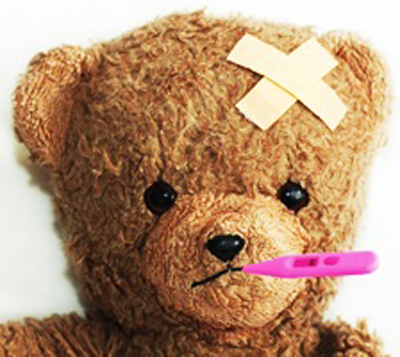
Repairing Antique And Vintage Teddy Bears
Many types of damage can occur to poor teddy! Play, insects, moisture, dirt and dogs can all cause grief!
With very valuable bears, family heirlooms or severe damage, it is advisable to leave the repair to an expert. Many advertise online, or in the Yellow Pages under ‘Doll Hospitals’ or ‘Teddy Bear/Toy Repairers’. Professional teddy bear makers may also be suitable.
It is important to clarify, with whoever you choose to fix teddy, how much you would like him repaired, before he comes home unrecognisable! The repairer needs to keep in mind what teddy would have looked like and how much you would like to retain of what he now looks like, before treatment.
Less serious repairs can, however, be undertaken at home. Some common problems include:
Eyes-missing eyes can be replaced. Look at pictures of other similar (and similarly aged) bears to see what types of eyes teddy would have originally had. Replacements can be purchased from the internet (eg. ebay), craft shops or from specialist teddy making suppliers.
Attach strong double thread (habadashery shops) to each eye, and then pass this thread through a long ‘doll’ needle (10-15 cm), and then through the head of the teddy, to the back. Pull the rest of the thread firmly, so as to pull the eye into place, and tie the ends together with a couple of knots. If the needle is brought out near the neck joint, and the ends tied off there, then the knot can be well hidden.
Stuffing- old bears were either stuffed with woodwool (excelsior) or kapok. Teddy bear making suppliers (shops or online)usually offer these, or similar alternatives.
Each limb and the back of the torso will have a seam. Carefully cut the seam open where stuffing needs to be added and insert the stuffing (moulding it into shape). Massage the edges of the seam back together, tack, then close using ladder stitch in a matching strong thread.
Split seams-use a strong thread in a matching colour. Massage the edges together and pin or tack. If the edges are fraying, apply a thin line of “Fraystop” (habadashery or craft shops), and allow to dry. Close the seam using using ladder stitch.
Holes-patches can be made from any matching mohair or plush, bought new or cut from old coats or toys.
Cut the matched piece about half a cm larger than the hole. Fold it to fit, tucking it to fit within the hole. Tack this into place, then sew the edges with tiny stitches.
Nose/Mouth-firstly research the faces of other similar bears.
Note the shape of any existing features, then using black embroidery thread, sew on the new nose and mouth, following the original needle holes if possible. Most noses are able to be sewn by starting the stitches in the centre, then sewing a line of vertical stitches out to one side, back to the centre, then out to the other side, and back again. Next, take the needle down to do the mouth, The end of the thread is then taken through the head, to the back, and pulled. Secure with a couple of small stitches or a knot, near the neck joint.


